 Save
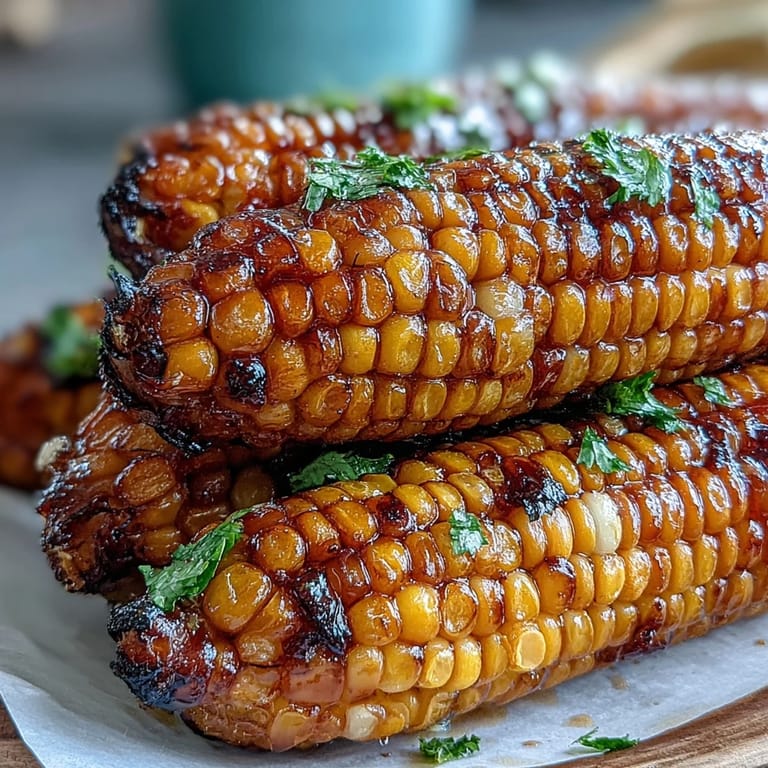
Save There's something almost magical about standing in front of the microwave at 6 PM on a weeknight, watching corn kernels plump up through the glass door while the garlic butter melts in a bowl beside it. My neighbor once caught me doing exactly this and asked why I wasn't boiling water like a normal person—but I've learned that sometimes the fastest path to dinner is also the most delicious one. This microwave corn with garlic butter has become my secret weapon for nights when I want something that tastes like summer but doesn't demand an hour of my time.
I made this for a casual backyard gathering last August when my grill decided to stop working an hour before guests arrived. Instead of panicking, I pivoted to the microwave and served these ears alongside grilled chicken someone else had brought. People actually asked me for the trick—they couldn't believe something this buttery and garlicky hadn't spent time over charcoal. That's when I realized ease and elegance don't have to be enemies.
Ingredients
- Fresh corn, husked (4 ears): Look for ears with bright green husks and kernels that feel plump when you gently squeeze them; this tells you they're at their peak sweetness.
- Unsalted butter (4 tablespoons): Unsalted lets you control the salt level and lets the garlic flavor shine without competing with the butter's natural richness.
- Garlic, finely minced (2 cloves): Mince it small so it distributes evenly through the melted butter and won't leave harsh chunks.
- Fresh parsley, chopped (1 tablespoon, optional): This adds a bright, fresh finish that balances the richness of the butter beautifully.
- Salt and freshly ground black pepper (1/2 teaspoon and 1/4 teaspoon): Freshly ground pepper makes all the difference—it tastes alive compared to the pre-ground version that's been sitting in your cabinet.
- Lemon wedges (optional, to serve): A squeeze of lemon at the end cuts through the richness and makes each bite taste even more vibrant.
Tired of Takeout? 🥡
Get 10 meals you can make faster than delivery arrives. Seriously.
One email. No spam. Unsubscribe anytime.
Instructions
- Get your corn ready:
- Place the husked ears on a microwave-safe plate and cover them loosely with a damp paper towel—this traps steam and keeps the kernels from drying out. The towel should be wet but not dripping, or you'll end up with soggy corn instead of tender.
- Microwave until golden:
- Set the microwave to high and cook for 4 to 6 minutes, turning the corn halfway through so it heats evenly on all sides. You'll know it's done when the kernels yield slightly to pressure and smell sweet—let it rest for a minute after cooking to finish softening.
- Infuse the butter:
- While the corn cooks, combine butter and minced garlic in a microwave-safe bowl and microwave for about 30 seconds until melted and fragrant. Don't skip this step or try to melt it longer—you want the garlic to wake up without turning bitter.
- Finish the seasoning:
- Stir the salt, pepper, and parsley (if using) into the warm garlic butter and taste it on a finger to make sure the seasoning feels right to you. This is your moment to adjust—it's easier now than after you've brushed it all over the corn.
- Coat generously:
- Using a pastry brush, coat each ear of corn with the garlic butter, making sure every kernel gets some love. Work slowly and methodically so nothing gets left dry.
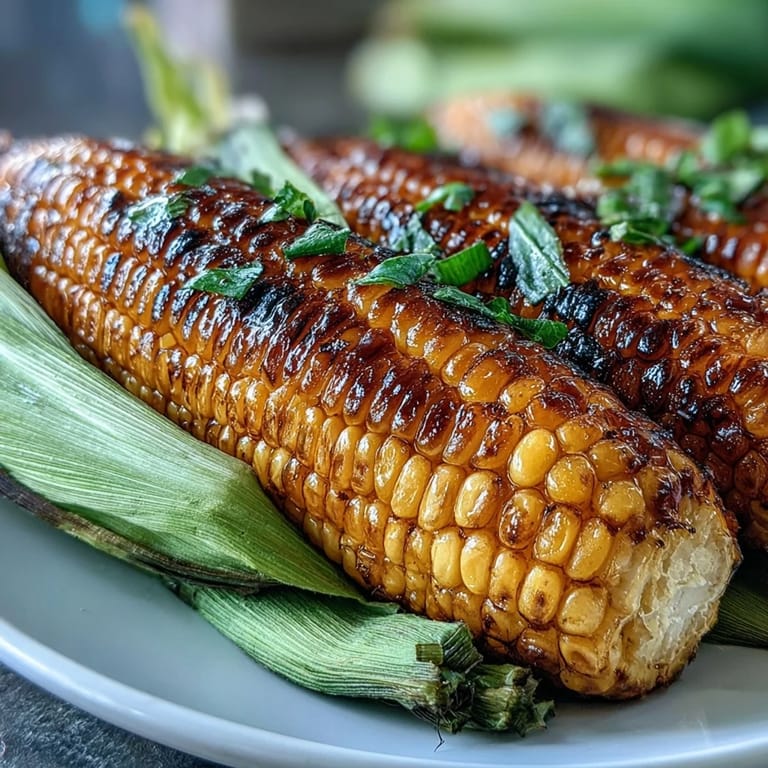
- Serve right away:
- Plate the corn immediately while it's still warm, and set out extra butter and lemon wedges for anyone who wants to customize their own bite. The corn stays warm for several minutes, but you'll want to eat it while it's at its peak.
 Save
Save My daughter once watched me make this and announced it was her favorite vegetable, which is saying something from a kid who usually picks corn out of everything. Since then, it's become the one side dish she actually requests, and that small shift from reluctant vegetable eater to someone who genuinely looks forward to corn has made all the difference in our dinner table conversations.
Why Microwave Corn Works
Boiling corn releases its sugars into the water, which means you're literally throwing flavor away with the pot liquid. Microwaving steams it in its own moisture, trapping all that natural sweetness right where it belongs—in the kernels. Once you understand this, you'll never go back to the stovetop.
Making the Garlic Butter Sing
The garlic butter is where this dish becomes memorable instead of just quick. Toasting the garlic in warm butter for just 30 seconds changes it from raw and sharp to mellow and sweet—it's the difference between garlic you taste and garlic you feel. The parsley adds a whisper of freshness that keeps the whole thing from feeling heavy, which matters when you're eating something this rich.
Variations and Customizations
Once you've mastered the basic version, you'll start seeing possibilities everywhere. I've added everything from smoked paprika to grated Parmesan, and each one shifts the mood of the dish slightly. The beauty of a simple recipe is that it leaves room for your own flavors to shine through.
- Try a sprinkle of grated Parmesan or a dash of smoked paprika for deeper, more complex flavor.
- Wrap individual ears in wax paper before microwaving if you like your corn extra juicy and tender.
- Keep leftover garlic butter in a small jar in the refrigerator for up to a week and dollop it on vegetables, bread, or grilled meat.
 Save
Save This is the kind of recipe that reminds me why cooking doesn't need to be complicated to be genuinely good. Serve it tonight and taste the difference.
Recipe Questions & Answers
- → How do I know when the corn is cooked?
Microwave the corn until the kernels are tender when pierced with a fork, usually 4 to 6 minutes depending on your microwave's power.
- → Can I prepare the garlic butter ahead of time?
Yes, you can melt the butter with garlic in advance and store it in the fridge for up to one week to use as needed.
- → What variations can enhance the flavor?
Try sprinkling grated Parmesan or smoked paprika on the buttered corn for an extra layer of taste.
- → Is wrapping corn in wax paper beneficial?
Wrapping each ear individually before microwaving can help retain moisture, resulting in juicier kernels.
- → Are there any considerations for dietary restrictions?
This dish contains dairy from the butter; check labels if you need to avoid allergens.