Save
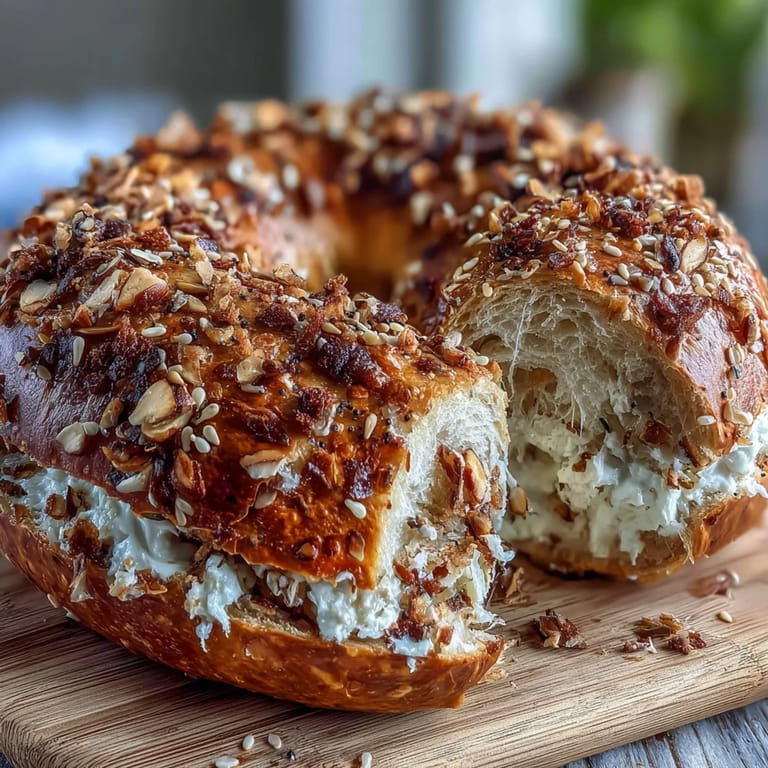
Save I discovered these bagels by accident on a Tuesday morning when my usual bagel shop was closed and I had nothing but Greek yogurt and self-rising flour in my kitchen. My daughter was asking for bagels, and instead of running out, I decided to experiment with what I had. Twenty minutes later, we were pulling golden, chewy bagels out of the oven, and she looked at me like I'd performed magic. The best part? No yeast, no overnight proofing, no stress—just two ingredients and a little kneading.
Last weekend, I made a batch for my sister's surprise breakfast visit, and she couldn't believe how soft and chewy they were—she kept asking what bakery I'd ordered from. When I told her it was just two ingredients, she demanded the recipe immediately. Watching her toast one and spread cream cheese on it felt like sharing a little kitchen secret.
Ingredients
- Self-rising flour (1 1/2 cups): This is the foundation—it already contains baking powder and salt, so you don't need yeast or extra leavening agents, which is why these come together so quickly.
- Plain Greek yogurt (1 cup): Full-fat works best for tenderness, but low-fat will still give you excellent results; the tanginess in the yogurt activates the baking powder and creates that characteristic chewy texture bagels are known for.
- Egg wash (1 beaten egg, optional): Brushing the bagels before baking gives them a beautiful golden shine and helps toppings stick, though plain bagels are equally delicious.
- Toppings (sesame seeds or everything bagel seasoning, optional): This is where you customize—try poppy seeds, shredded cheese, dried onion, or even coarse salt for variety.
Tired of Takeout? 🥡
Get 10 meals you can make faster than delivery arrives. Seriously.
One email. No spam. Unsubscribe anytime.
Instructions
- Prep your workspace:
- Preheat your oven to 375°F and line a baking sheet with parchment paper so your bagels won't stick.
- Combine the magic:
- In a mixing bowl, stir together the self-rising flour and Greek yogurt with a spatula until a shaggy dough forms—it'll look rough at first, almost like wet sand, but that's exactly what you want.
- Knead into smoothness:
- Transfer the dough to a lightly floured surface and knead for 2–3 minutes until it becomes smooth and elastic; you'll feel it transform under your hands as the gluten develops.
- Shape your bagels:
- Divide the dough into 4 equal pieces, roll each into a ball, then stretch it into a rope about 8 inches long. Bring the ends together and pinch firmly to seal the bagel shape—this is the moment it becomes real.
- Add finishing touches:
- Place your bagels on the baking sheet, brush with beaten egg if you'd like, and sprinkle your chosen toppings generously.
- Bake to golden:
- Bake for 22–25 minutes until they're golden brown and sound hollow when you tap them gently. The smell alone is worth the wait.
- Cool before serving:
- Let them sit on a wire rack for a few minutes—they'll firm up slightly, making them easier to slice and toast.
 Save
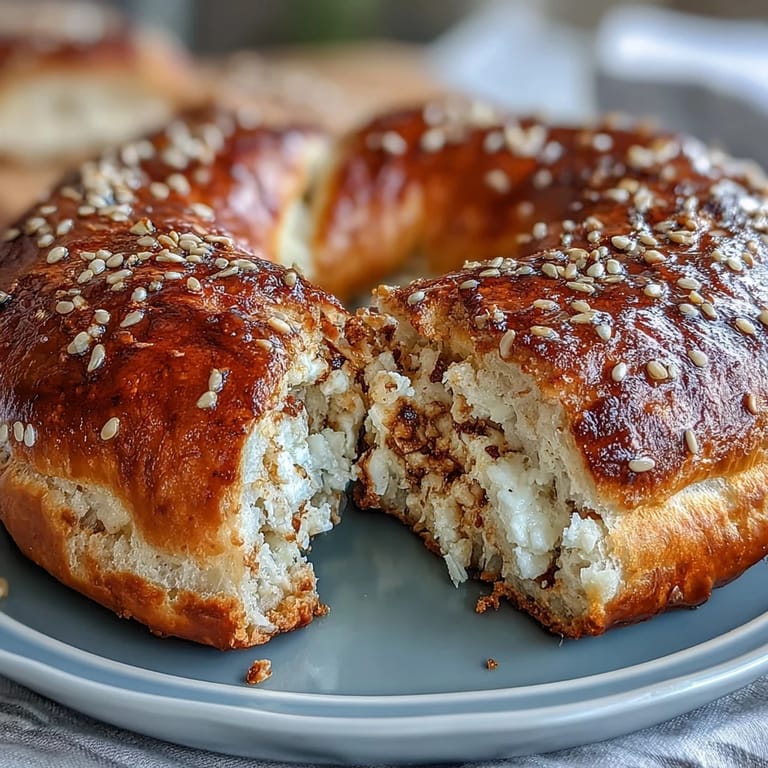
Save There's something wonderful about the moment when your kitchen fills with the aroma of fresh bagels baking. My neighbor smelled them through the wall and knocked to ask what I was making, and by the end of the conversation, I was sending her home with one still warm from the oven—that's when I knew these bagels were special enough to keep making.
Why This Recipe Changed My Breakfast Routine
Before discovering this method, I thought homemade bagels required special equipment, patience, and timing I didn't have. Now I make them whenever the craving hits, even on busy mornings, because the simplicity somehow makes them taste better. It's the kind of recipe that reminds you that the best cooking often comes from having fewer ingredients, not more.
Storage and Reheating
These bagels stay fresh in an airtight container at room temperature for 2 days, and they toast beautifully even after that. If you want to keep them longer, slice and freeze them in a freezer bag for up to three weeks—just pop them in the toaster from frozen and you'll have a fresh bagel in minutes without any planning ahead.
Variations to Try
Once you master the basic recipe, the fun really begins. I've made cinnamon raisin bagels by adding cinnamon and raisins to the dough, created a parmesan and herb version that pairs perfectly with eggs, and even experimented with a chocolate chip version for dessert. The beauty of this recipe is that it's forgiving enough to let you play around and discover your own favorite combination.
- Swap the toppings based on your mood—everything seasoning for savory mornings, cinnamon sugar for something sweet, or just leave them plain for maximum toasting potential.
- Try whole-wheat self-rising flour for added fiber and a slightly nuttier flavor.
- For dairy-free versions, use a thick non-dairy yogurt alternative like cashew or coconut yogurt, which works beautifully.
 Save
Save These bagels have become my go-to recipe for busy mornings and unexpected breakfast gatherings alike. There's real comfort in pulling golden, homemade bagels from your own oven with just two pantry staples and a little bit of time.
Recipe Questions & Answers
- → Can I use non-dairy yogurt for the dough?
Yes, a thick non-dairy yogurt alternative works well, maintaining texture while accommodating dietary needs.
- → Do I need to proof the dough before baking?
No proofing is necessary since self-rising flour provides the leavening, allowing for faster preparation and baking.
- → What toppings work best for these bagels?
Optional toppings like sesame seeds, everything bagel seasoning, poppy seeds, or dried onion flakes enhance flavor and texture.
- → Can whole-wheat self-rising flour be used?
Yes, whole-wheat self-rising flour can add fiber and a heartier taste while maintaining good structure.
- → How should I store leftover bagels?
Keep bagels in an airtight container at room temperature for up to two days or freeze for longer storage.