 Save
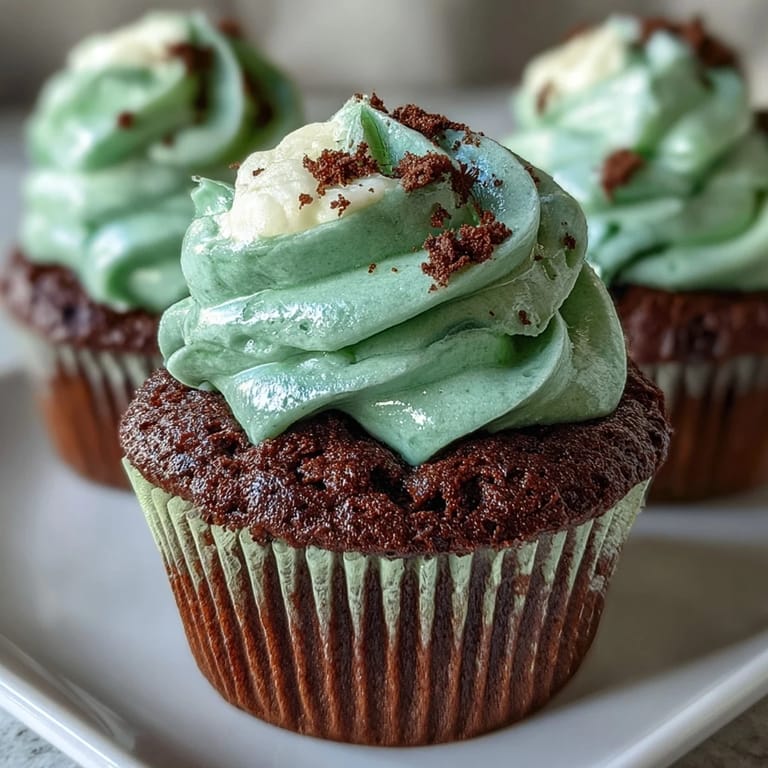
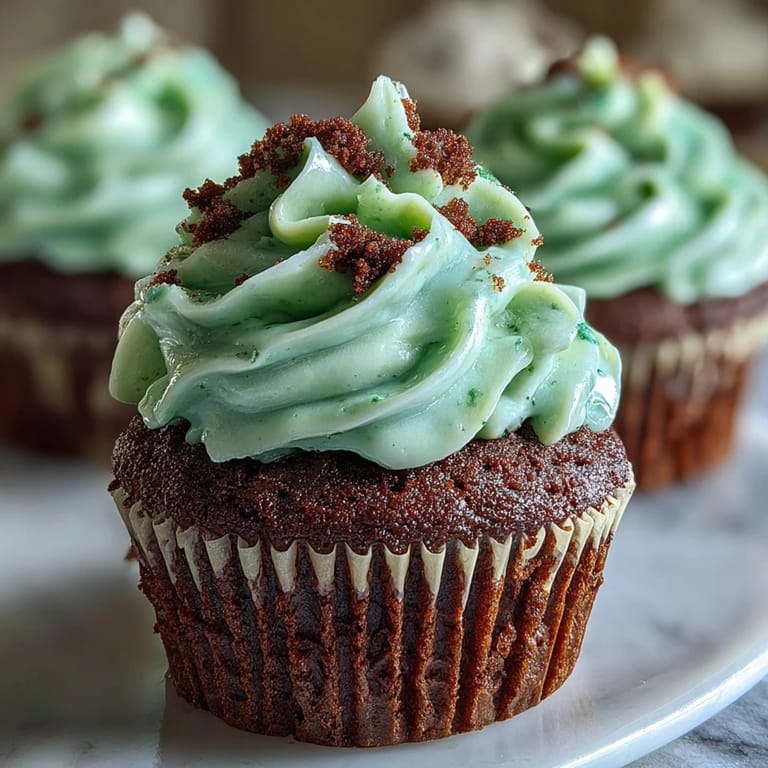
Save My neighbor knocked on the door with a mischievous grin last March, holding a store-bought green cupcake that tasted more like food coloring than anything else. That's when I decided these festive treats deserved better—something with actual depth, a whisper of cocoa hiding beneath the vibrant green, and a frosting so silky it would make anyone forget their supermarket disappointment. These Green Velvet Cupcakes became my answer to that challenge, and they've been the highlight of every St. Patrick's Day gathering since.
I'll never forget watching my daughter's face light up when she bit into one for the first time, genuinely shocked that "green cake" could taste this good. She asked if we could make them again that same week, and somehow that simple question turned these cupcakes into our annual tradition that extends far beyond St. Patrick's Day itself.
Ingredients
- All-purpose flour (1 1/4 cups): The foundation that keeps these cupcakes tender without becoming cakey—I've learned not to pack it down when measuring.
- Unsweetened cocoa powder (1/4 cup): This is your secret weapon, adding richness and preventing the green coloring from tasting artificial or overwhelming.
- Baking soda (1/2 tsp) and salt (1/4 tsp): Together they wake up the cocoa flavor and balance the sweetness in ways most people won't consciously notice but will absolutely taste.
- Unsalted butter (1/2 cup) and granulated sugar (1 cup): The creaming step matters here—spend those two minutes really getting them light and fluffy or the texture suffers.
- Eggs (2 large, room temperature): Cold eggs won't incorporate properly, so pull them out while you're prepping everything else.
- Buttermilk (1/2 cup) and sour cream (1/4 cup): These create moisture and tang that make the crumb almost velvety—don't skip the sour cream thinking buttermilk alone is enough.
- Vanilla extract (1 tsp) and white vinegar (1 tsp): The vinegar reacts with the baking soda to enhance the cocoa notes and keeps the cake from feeling heavy.
- Green food coloring (1 tbsp, gel preferred): Gel coloring is genuinely thicker and more concentrated than liquid, so you won't dilute your batter and need to adjust other ingredients.
- Cream cheese (8 oz, softened) and butter (1/4 cup, softened): Softened really means softened—if either ingredient is cold, your frosting will be grainy instead of silky.
- Powdered sugar (2 cups, sifted) and vanilla extract (1 tsp): Sifting removes lumps that would make the frosting taste gritty, and it's the one step that truly makes a difference.
Tired of Takeout? 🥡
Get 10 meals you can make faster than delivery arrives. Seriously.
One email. No spam. Unsubscribe anytime.
Instructions
- Prepare your stage:
- Set your oven to 350°F and line your muffin tin with cupcake liners while it preheats. Having everything ready beforehand means you won't be scrambling when the batter comes together.
- Build the dry mixture:
- Whisk together your flour, cocoa powder, baking soda, and salt in a medium bowl, making sure there are no cocoa lumps hiding in the corners. This is worth taking a full minute to do thoroughly.
- Cream butter and sugar:
- Beat them together for about two minutes until the mixture looks pale and fluffy—you're incorporating air that will lighten your cupcakes. Don't rush this part; it genuinely changes the texture.
- Add eggs one at a time:
- After each egg, beat well and scrape down the bowl so everything emulsifies together. This patience prevents a curdled-looking batter that will bake unevenly.
- Combine wet ingredients:
- Mix in buttermilk, sour cream, vanilla, green food coloring, and vinegar until they're fully incorporated. The batter will look vibrantly green at this point, which is exactly right.
- Fold in dry ingredients gently:
- Add the flour mixture gradually, mixing just until you don't see white streaks anymore. Overmixing creates tough cupcakes, so stop as soon as everything comes together.
- Fill and bake:
- Divide batter evenly among the lined cups until each is about two-thirds full, then bake for 16 to 18 minutes until a toothpick comes out clean. The tops will spring back when lightly touched.
- Cool with patience:
- Let them sit in the pan for five minutes so they set slightly, then turn them out onto a cooling rack to finish cooling completely. Frosting warm cupcakes is a recipe for melted mess.
- Make the frosting:
- Beat softened cream cheese and butter until absolutely smooth and creamy with no lumps visible. Gradually add sifted powdered sugar, vanilla, and salt, beating until light and fluffy.
- Frost when ready:
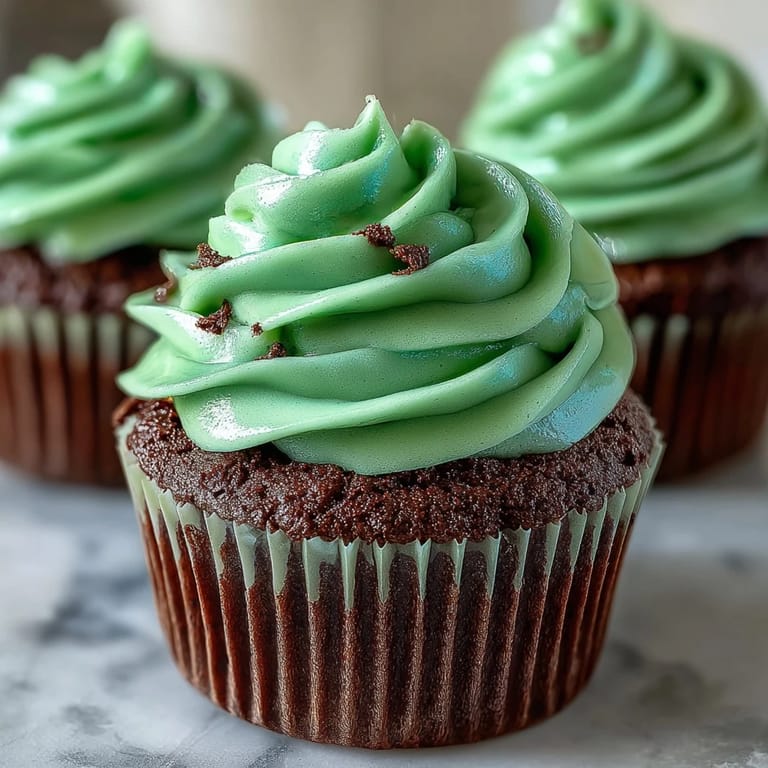
- Once the cupcakes are completely cool, apply frosting with either a piping bag for pretty peaks or a simple spatula for a casual, homey look. Either approach tastes just as wonderful.
 Save
Save These cupcakes have a way of turning a regular Tuesday into something worth celebrating, and I've learned that small touches—like taking time to cream the butter properly or using gel coloring—are the difference between "nice cupcake" and "where did you get this?" moments.
The Cocoa Secret Nobody Expects
Most people assume green velvet cake is just chocolate cake with green coloring, but the cocoa powder here is kept to just 1/4 cup so it whispers rather than shouts. That restraint is what makes these cupcakes interesting—the green is vibrant and festive, but the flavor stays complex and grown-up, never artificial or gummy-tasting.
Frosting Like a Professional
The difference between okay frosting and incredible frosting is usually time and temperature. I learned this the hard way after making lumpy, separated frosting more times than I'd like to admit, but now I always let my cream cheese and butter sit at room temperature for a solid 20 minutes before beating them together.
Making These Your Own
Once you nail the base recipe, these cupcakes welcome creative additions without losing their identity. I've experimented with everything from a subtle drop of mint extract to swapping out vanilla for almond, and the cake stays grounded while the frosting is genuinely flexible.
- A tiny drop of mint extract transforms these into something that tastes like celebrating Irish coffee season.
- Green sanding sugar on top of the frosting adds texture and looks effortlessly festive without requiring decorator skills.
- These actually taste better the next day as flavors meld together, so bake them a day ahead if you're hosting.
 Save
Save These Green Velvet Cupcakes have taught me that the most memorable desserts aren't fancy—they're just made with intention and a willingness to get the details right. Bake them knowing you're creating something people will actually remember.
Recipe Questions & Answers
- → What gives the cupcakes their green color?
The vibrant green color comes from gel food coloring, which provides a rich and consistent hue without affecting the batter's texture.
- → Can I use liquid food coloring instead of gel?
Liquid food coloring can be used, but gel is preferred for a deeper green tone and to avoid diluting the batter.
- → How do I ensure the cupcakes stay moist?
Incorporating buttermilk and sour cream helps keep the cupcakes tender and moist throughout baking and storage.
- → What is the best way to frost the cupcakes?
Allow cupcakes to cool completely before frosting. Use a piping bag or spatula to apply the cream cheese frosting evenly for a smooth finish.
- → Can I add flavor variations to this dessert?
Yes, adding a drop of mint extract to the batter or frosting can provide a fresh twist that complements the green velvet base.
- → How long do these cupcakes keep fresh?
When stored in an airtight container in the refrigerator, they remain fresh for up to 3 days.