 Save
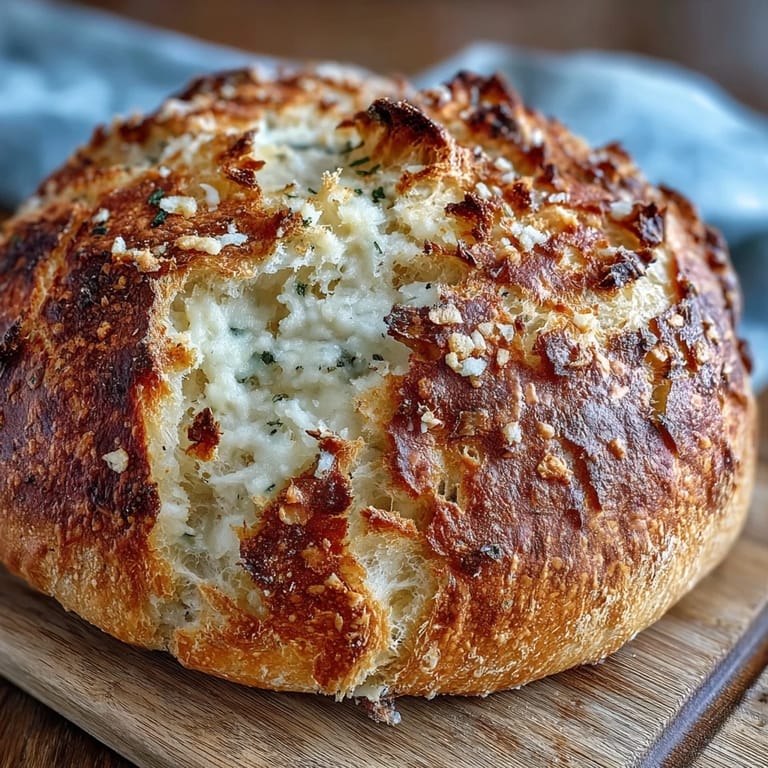
Save My kitchen smelled like an Italian grandmother's embrace the first time I pulled this loaf from the oven. I had meant to make plain bread but found myself tossing in whatever cheese and herbs were languishing in the fridge, half-expecting a disaster. Instead, I got this golden masterpiece with crust that shattered under my knife and an interior so fragrant with garlic and Parmesan that I ate three slices standing right there at the counter. Now it is the only bread my family requests when I announce I am baking.
Last winter I brought this bread to a friend's soup night and watched it disappear in under fifteen minutes. Someone actually asked if I had secretly bought it from the new artisan bakery downtown. When I explained how dead simple the recipe was—essentially mix it, forget it, bake it—three people pulled out their phones to take notes right there at the dinner table. There is something magical about serving bread that makes people feel cared for.
Ingredients
- All-purpose flour: This forms the structure, and bread flour would make it too dense for the tender crumb we want
- Salt: Do not reduce this, as it balances the salty Parmesan and keeps the dough from tasting flat
- Granulated sugar: Just enough to feed the yeast and help browning without making the bread taste sweet
- Active dry yeast: Instant yeast works too, but dissolve it in the warm water anyway to be certain it is alive
- Warm water: Use a thermometer the first few times, because too hot kills yeast and too cold makes for sluggish rising
- Olive oil: Adds subtle richness and helps the crust stay tender rather than hard as a rock
- Freshly grated Parmesan cheese: Pre-grated has anti-caking agents that prevent it from melting evenly into the crumb
- Garlic: Mince it finely so it disperses throughout, avoiding raw garlic pockets that can taste harsh
- Fresh rosemary or parsley: These are optional, but I find rosemary pairs particularly beautifully with the Parmesan
Tired of Takeout? 🥡
Get 10 meals you can make faster than delivery arrives. Seriously.
One email. No spam. Unsubscribe anytime.
Instructions
- Mix the dry foundation:
- Whisk together flour, salt, and sugar in your largest bowl so the yeast will be evenly distributed later.
- Wake up the yeast:
- Stir yeast into warm water and wait five minutes until you see a layer of foam on top—this means it is alive and ready to work.
- Bring it together:
- Pour the foamy yeast and olive oil into the dry ingredients and stir with a wooden spoon until you have a shaggy, sticky dough.
- Add the magic:
- Fold in the Parmesan, garlic, and herbs until they are evenly distributed throughout the dough.
- Let it rest overnight:
- Cover the bowl and leave it alone for 12 to 18 hours, watching it bubble and grow into something twice its original size.
- Shape gently:
- Turn the dough onto a floured surface and fold the edges toward the center to form a round, handling it lightly to keep all those air bubbles.
- Preheat with purpose:
- While the dough rests for 30 minutes, put your Dutch oven in a cold oven and heat to 450°F so the pot is screaming hot.
- Score the surface:
- Use your sharpest knife to cut a shallow slash across the top of the loaf, which gives the bread room to expand in the oven.
- Bake covered:
- Transfer the dough on parchment into the hot Dutch oven, cover, and bake for 30 minutes to create steam for a crisp crust.
- Reveal the glory:
- Remove the lid and bake another 15 minutes until the loaf is deep golden and sounds hollow when you tap the bottom.
- Wait before slicing:
- Cool on a wire rack for at least 30 minutes, because cutting warm bread makes the interior gummy and sad.
 Save
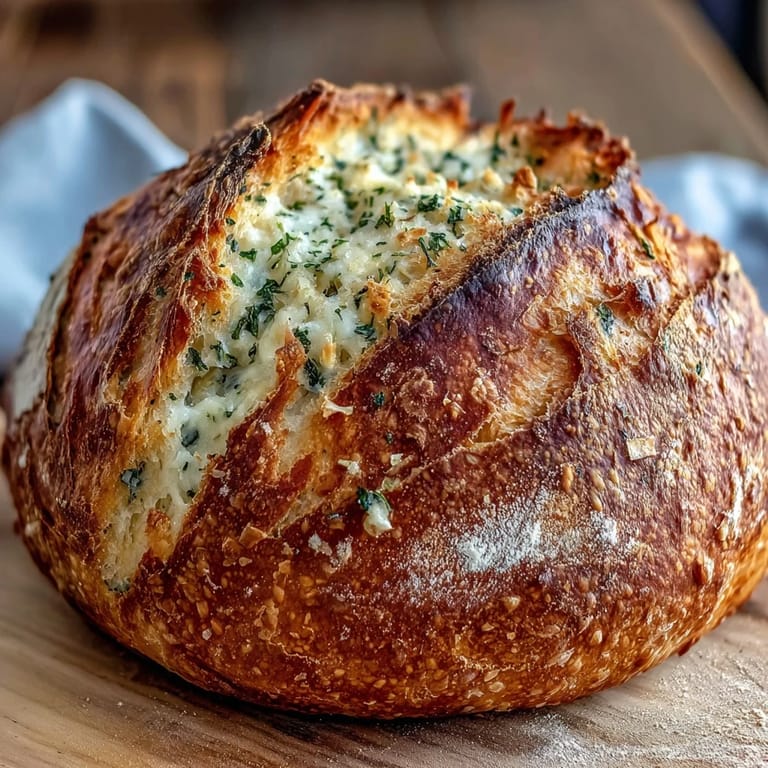
Save This bread became my go-to when I realized I could start it the night before a dinner party and wake up to something that made me look like a kitchen wizard. There is profound satisfaction in serving something so impressive with so little actual effort.
The Science Behind The Overnight Rise
That long fermentation does more than just fit your schedule. The slow rise allows enzymes to break down starches into simple sugars, which means deeper flavor and better browning in the oven. It also develops gluten structure naturally, which is why you can get away with minimal kneading.
Choosing The Right Dutch Oven
Cast iron or enameled cast iron works best because it holds heat intensely and creates the steam environment that artisan bread needs. A ceramic pot with a lid can work in a pinch, but avoid thin metal or glass. The key is something heavy that can go from cold oven to 450°F without cracking.
Variations That Work
Once you master this version, try swapping in sharp cheddar and diced jalapeños for a Tex-Mex twist. Gruyère and thyme make it feel fancy, while Asiago and sun-dried tomatoes turn it into something entirely different.
- Try adding crushed red pepper flakes if you want a gentle heat kick throughout the crumb
- Brush the top with melted butter mixed with garlic powder immediately after baking for extra flavor
- This dough freezes beautifully after the first rise—just thaw, shape, and bake as directed
 Save
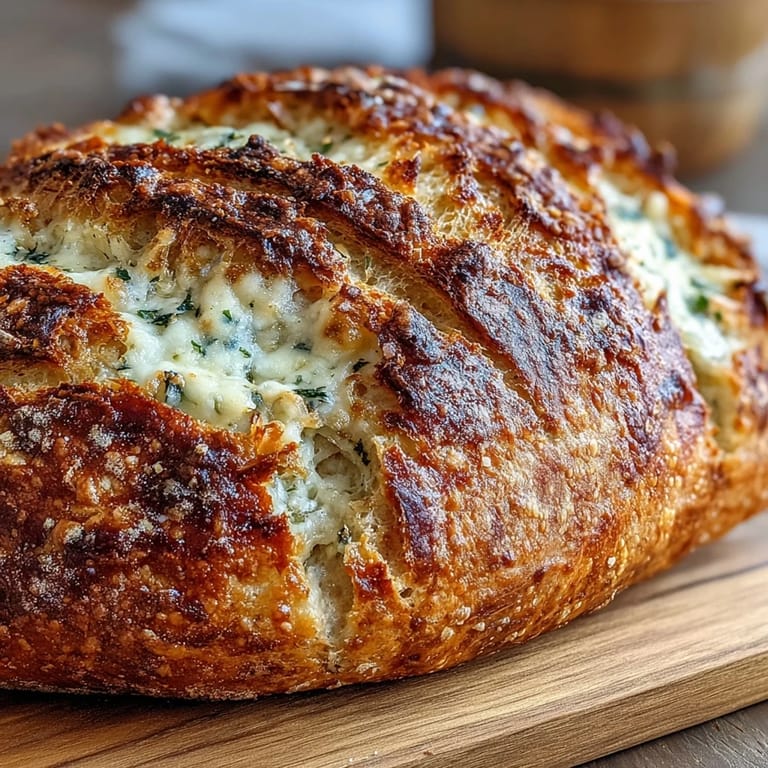
Save There is nothing quite like tearing into a homemade loaf while it is still slightly warm, especially when it is perfumed with garlic and cheese. This bread has a way of making even a simple Tuesday dinner feel like an occasion.
Recipe Questions & Answers
- → Why does the dough need to rise for 12–18 hours?
The long fermentation allows yeast to slowly break down sugars, developing complex flavors and creating that characteristic airy texture. This slow rise also makes the bread more digestible and easier to work with.
- → Can I use instant yeast instead of active dry yeast?
Yes, instant yeast works well. You can skip the blooming step in warm water and mix it directly with the flour. Use the same amount called for in the ingredients.
- → What if I don't have a Dutch oven?
A heavy oven-safe pot with a tight-fitting lid works as an alternative. Cast iron, ceramic, or even stainless steel with a lid creates the steam needed for a crisp crust. Avoid glass as it may crack at high temperatures.
- → How do I know when the bread is done baking?
The crust should be deep golden brown. Tap the bottom of the loaf—it should sound hollow. An instant thermometer inserted into the center should read between 190–200°F (88–93°C).
- → Can I freeze this bread?
Absolutely. Cool completely, wrap tightly in plastic and foil, then freeze for up to 3 months. Thaw at room temperature and refresh in a 350°F oven for 10 minutes to restore the crust.
- → Why is my dough still sticky after mixing?
This is normal and actually desirable for this style. Sticky dough creates larger air pockets and a softer crumb. Resist adding more flour—a wet dough yields better results with the long fermentation method.