 Save
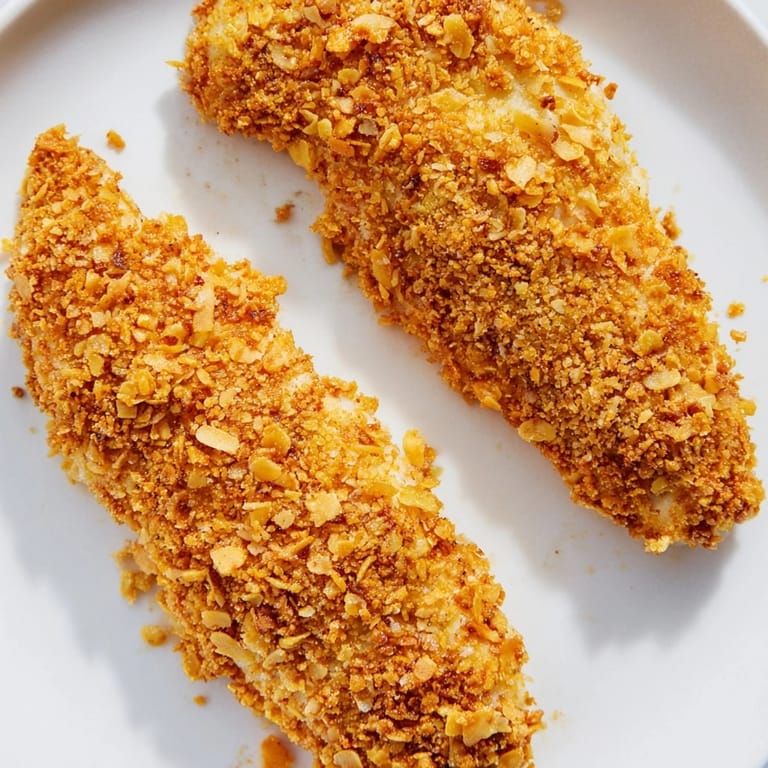
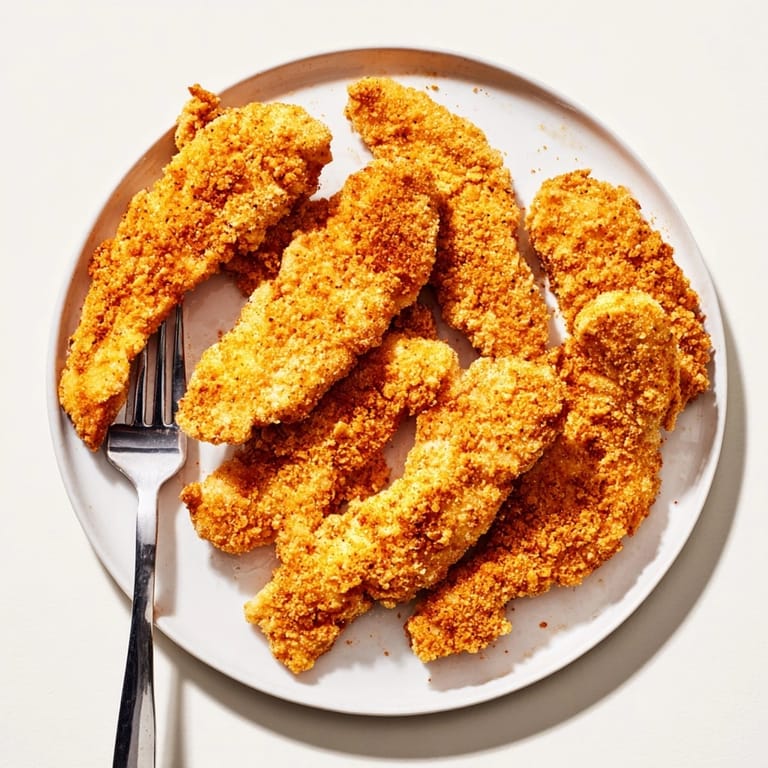
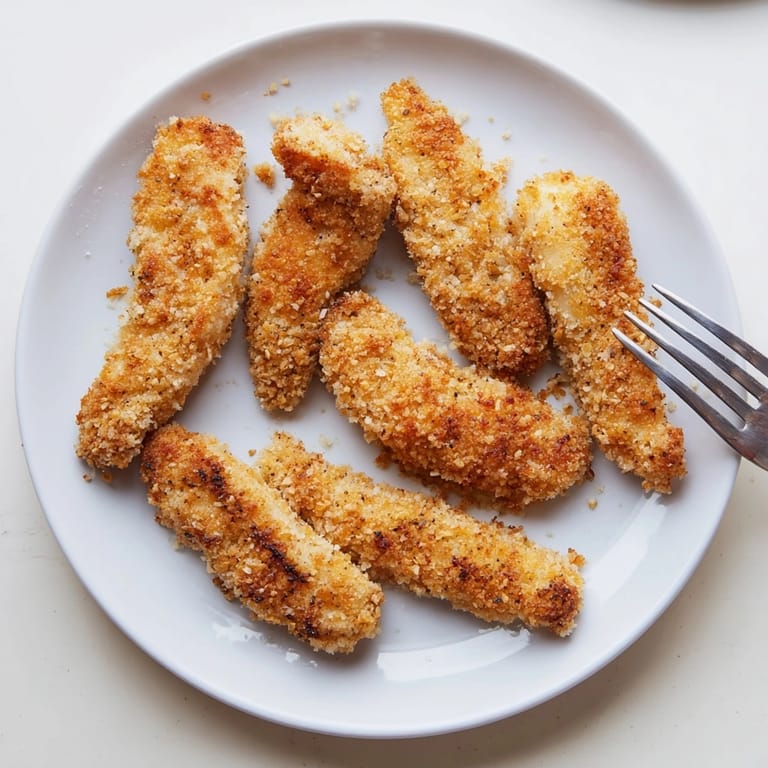
Save Golden crispy baked chicken tenders bring the comfort of classic fried chicken into your kitchen with less mess and a lot less oil. This healthier homemade version delivers all the crunch you crave with juicy meat inside—perfect for busy weeknights, family dinners, or even game day snacks.
I started baking chicken tenders when my kids went through a phase of refusing "anything not crunchy." Now it is one of those recipes I double for parties because both grown-ups and little ones always grab seconds.
Ingredients
- Chicken tenders or boneless skinless chicken breasts: Cut into strips for the best texture and easier portioning. Look for chicken without added water or solution for more flavor and better browning
- Panko breadcrumbs: Unseasoned panko provides signature airy crunch when baked and full control over flavor
- Cornflakes: Crushed by hand or gently in a bag add lightness and help the coating crisp up even more. Use plain cornflakes not sugar-coated
- Garlic powder: Delivers gentle savory depth without overwhelming the chicken
- Paprika: Brings warm color and a subtle smoky richness. Sweet paprika is classic but smoked paprika can be substituted
- Salt: Essential for drawing out the meat's natural taste
- Black pepper: Gives balanced mild heat
- Large eggs: Create the binder to help the coating stick perfectly. Room temperature eggs work best for even coverage
- Milk: Helps thin the eggs just enough to easily coat each piece. Whole or low-fat milk both work
- Olive oil spray or a drizzle: Ensures the coating gets evenly browned in the oven and creates nice crunch. Extra virgin olive oil has the best flavor
Tired of Takeout? 🥡
Get 10 meals you can make faster than delivery arrives. Seriously.
One email. No spam. Unsubscribe anytime.
Instructions
- Preheat the Oven
- Set your oven to 425 degrees Fahrenheit and allow plenty of time for it to fully heat. Line a large baking sheet with parchment paper to prevent sticking or use a light brush of olive oil
- Prepare the Breading Mixture
- In a wide shallow bowl combine panko breadcrumbs with the crushed cornflakes garlic powder paprika salt and black pepper. Mix thoroughly so the spices and texture are evenly distributed throughout. This will give every chicken strip consistent flavor and coating
- Whisk the Dredge
- In a separate bowl crack the eggs and add the milk. Whisk together until the eggs are fully blended and light in color without visible streaks. This makes it easy for the breading to grip every piece of chicken
- Prep the Chicken
- Blot each chicken tender dry with a paper towel. Dry chicken holds onto the coating much better than damp pieces do ensuring there are no soggy patches
- Coat the Chicken
- Working one at a time dip each chicken strip into the egg and milk mixture making sure it is fully covered. Then transfer to the breadcrumb bowl gently pressing on all sides to help the crust cling securely. Shake off any excess
- Arrange on the Baking Sheet
- Place each coated chicken tender spaced out on your prepared baking sheet. Spray a light mist of olive oil or drizzle just a touch over each piece to help the crumbs brown up and crisp
- Bake and Flip
- Place the sheet in the hot oven and let the chicken bake for about 18 to 20 minutes. Flip every tender halfway through using tongs to get both sides equally golden. Check that the internal temperature of each reaches 165 degrees Fahrenheit for food safety
- Rest and Serve
- Let the finished tenders rest for two to three minutes on the tray before moving or serving. This helps keep the crumb crust attached and the juices inside each piece
 Save
Save My favorite part is the combination of crunchy panko and cornflakes which always gives you that restaurant-worthy texture. I will never forget my youngest dunking these into ketchup with a giant smile—real proof that homemade beats anything from a box.
Storage Tips
Once cooled store chicken tenders in an airtight container in the fridge for up to three days. Reheat in the oven or toaster oven at 400 degrees so the coating gets crisp again. If you want to freeze them for busy days let them cool completely on a rack lay flat in a single layer in a freezer bag and reheat directly from frozen
Ingredient Substitutions
For gluten free needs choose gluten free panko and cornflakes options which are widely available. Want dairy free Swap milk for unsweetened plant-based milk. If you do not have eggs try dipping the chicken in plain Greek yogurt or even mayonnaise thinned with a splash of water
Serving Suggestions
Pair with classic dips like ranch barbecue or honey mustard. These are delicious on top of green salads or rolled up in a wrap with lettuce and tomato. For larger gatherings serve platter style alongside oven fries or slaw
 Save
Save When feeding a big group set up a dipping sauce bar with several flavors to make it even more fun for everyone. These baked chicken tenders will stay crispy and satisfying for any meal!
Recipe Questions & Answers
- → How do I make the coating extra crispy?
Lightly spray or drizzle the breaded chicken with olive oil before baking. Using panko and cornflakes also helps achieve maximum crunch.
- → Can I use chicken breasts instead of tenders?
Yes, slice boneless, skinless chicken breasts into strips. The cooking time remains similar if the pieces are equally thick.
- → Is it possible to prepare these ahead of time?
Absolutely! Bread and refrigerate the chicken up to 4 hours before baking, then cook just before serving for best texture.
- → What sauces pair well with these tenders?
Popular options include honey mustard, ranch, ketchup, or spicy dips. Choose your favorite or offer a dipping platter.
- → How do I make this dish gluten-free?
Use gluten-free panko breadcrumbs and gluten-free cornflakes for the breading. Always double-check ingredient labels.
- → What sides complement these chicken tenders?
Try pairing with crispy fries, coleslaw, a fresh salad, or roasted vegetables for a balanced meal.
- → How do I know when the chicken is done?
Bake until the tenders are golden and the internal temperature reaches 165°F (74°C) for safe, juicy results.